
Graphic organizers are a great way to help simplify material. However, if they are too complicated, they can actually detract from the concepts you are trying to teach. Here are a few tips that should help you get the most out of using graphic organizers.
Keep the structure simple, and try to make the directions immediately understood. Allow students to add the details and creativity. The more creative investment they put into the organization of information, the more they will remember.
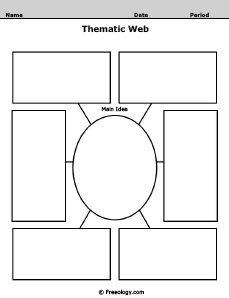
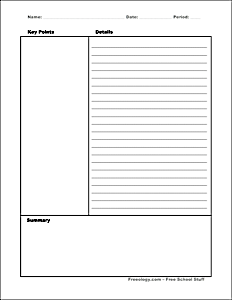
Design with a goal in mind. Decide in advance how students will organize the information. There are many categories and types of graphic organizers including: cause and effect, sequencing, compare and contrast, hierarchy (main idea and details), eliciting prior knowledge, and decision making. Ask yourself what you want students to accomplish by using this organizer.
Use pictures to help initiate interaction with the worksheet. If possible, structure the organizer to look like something, as in this fishbone, or as in this tree shape, this eye shape, or this sequencing organizer.
Encourage students to add their own illustrations to the forms. For those who enjoy drawing, it helps them remember the concepts and makes using graphic organizers fun. It is also helpful to students who feel more comfortable communicating with drawings than in writing.
Use the same graphic organizer throughout the unit. Instead of having students use the organizer only one day, keep adding ideas to it throughout the unit. Students will benefit from the investment and familiarity, and the concepts being taught will be reinforced and expanded over time.
If you are looking for ideas, you will find dozens of graphic organizers here.


 Please support this site by contributing to the coffee fund. All donations are appreciated.
it is a great website with a lot of graphic organizers. I didnt know about graphics till now. good job.